Saving your own seeds is one of the most practical and rewarding steps in home gardening. If you’ve been growing okra and want a steady supply for the next season, learning how to harvest okra seeds is essential. Not only does it save money, but it also helps you preserve the best-performing plants from your garden.
In this complete guide, you’ll learn when and how to collect okra seeds, how to store them properly, and tips to ensure high germination rates in the next planting cycle.
Did You Know?
Mature okra pods can contain up to 100 seeds, which means just a few plants can provide enough seeds for the next season.
Key Takeaways
- Always allow okra pods to fully mature before harvesting seeds
- Dry seeds properly to prevent spoilage
- Store seeds in a cool, dry, airtight environment
- Choose healthy plants for better future yield
- Combine quality seeds with proper growing practices for best results
Why Harvest Okra Seeds?
Okra is a fast-growing vegetable that thrives in warm climates. When you harvest seeds from mature pods, you ensure that the next generation of plants adapts well to your local conditions.
Seed saving is especially useful if you are working with indian okra seeds, as they are known for their adaptability, productivity, and flavor. By saving seeds from your healthiest plants, you naturally select better-performing crops year after year.
When to Harvest Okra Seeds
Timing plays a crucial role in successful seed harvesting. Unlike harvesting okra for cooking, seed harvesting requires patience.
Here’s how to know the right time:
- Leave a few pods on the plant beyond the edible stage
- Allow them to grow large, dry, and turn brown
- Pods will become hard and may start to crack open
At this stage, the seeds inside are fully mature and ready for harvesting.

Step-by-Step Guide on How to Harvest Okra Seeds
1. Select Healthy Plants
Choose strong, disease-free plants for seed collection. Avoid weak or infected plants, as they can pass undesirable traits to the next generation.
2. Let the Pods Fully Mature
Do not pick the pods too early. Mature pods are dry, woody, and often split naturally.
3. Harvest the Pods
Use clean scissors or pruning shears to cut the pods from the plant. Handle them carefully to avoid seed loss.
4. Dry the Pods Further
Even after harvesting, it’s a good idea to air-dry the pods for a few days in a cool, dry place.
5. Extract the Seeds
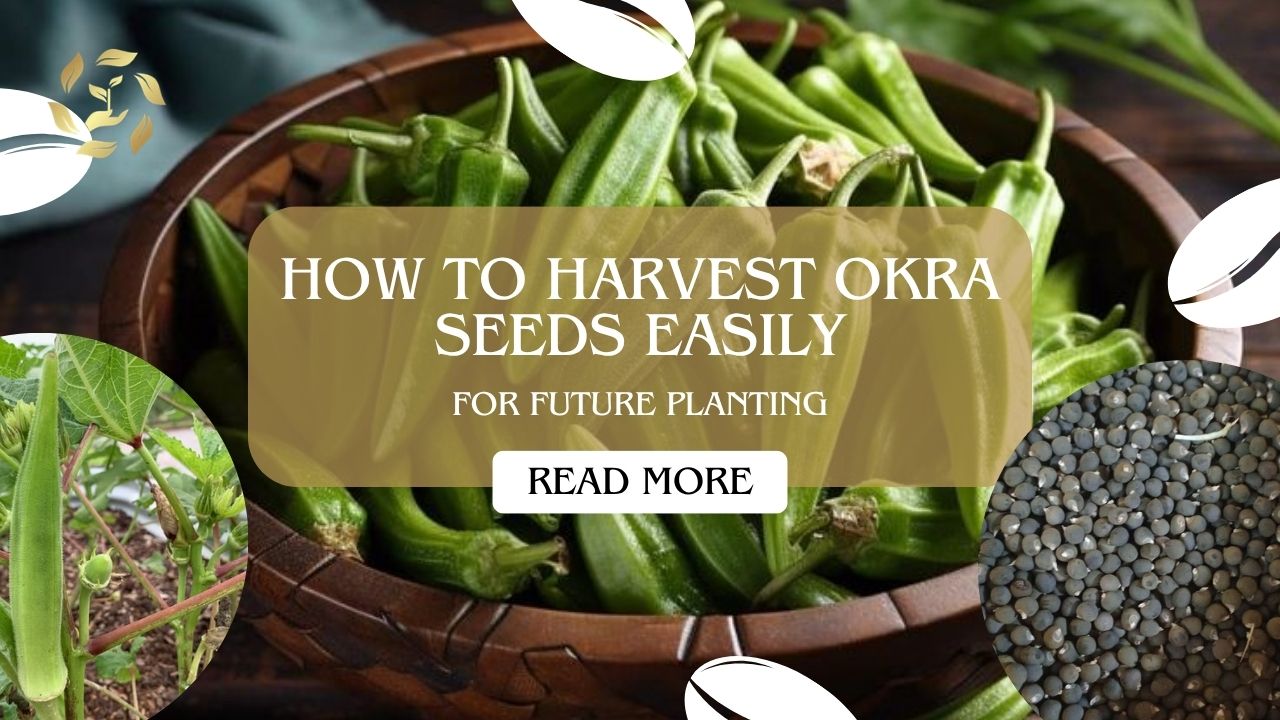
Break open the pods and remove the seeds. You’ll notice round, firm seeds that are usually light brown or grey.
6. Final Drying
Spread the seeds on a clean cloth or tray and allow them to dry completely for about a week. Proper drying prevents mold during storage.
How to Store Okra Seeds Properly
After harvesting, storage is key to maintaining seed quality.
Follow these tips:
- Store seeds in airtight containers
- Keep them in a cool, dry place
- Label the container with date and variety
- Avoid exposure to moisture and direct sunlight
Properly stored seeds can remain viable for up to 1–2 years.
Tips for Better Germination
If you want successful planting next season, keep these tips in mind:
- Use only fully mature seeds
- Soak seeds in water for 12–24 hours before planting
- Plant in warm soil for faster germination
- Ensure proper spacing for healthy growth
These practices are especially helpful when working with planting okra seeds in different climates.
Choosing the Right Seed Variety
While saving your own seeds is beneficial, many farmers also prefer hybrid okra seeds for higher yields and disease resistance. However, note that hybrid seeds may not produce the same quality if saved and replanted.
For consistent results, decide whether you want to continue with saved seeds or invest in fresh hybrid varieties each season.
Growing Okra Sustainably
Okra can be grown using different methods, including soilless farming. Many growers are now exploring how to grow vegetables in cocopeat, which improves water retention and root development.
Cocopeat is lightweight, eco-friendly, and ideal for container gardening. When combined with quality seeds, it enhances overall plant health and productivity.
Role of Quality Inputs in Farming
Good seeds alone are not enough for high yield. Soil health and nutrients also play a vital role. Many large-scale growers rely on reliable sources for fertilizer export from india to ensure their crops receive balanced nutrition.
Using the right fertilizers at the right time supports better flowering, pod formation, and seed development in okra plants.
Okra Seeds in Global Trade
Okra is not just a household vegetable; it is also an important crop in international markets. Exporters dealing in vegetables and seeds often work alongside a premium vegetables exporter to meet global demand.
High-quality okra seeds, especially those adapted to tropical climates, are widely sought after in export markets.
Common Mistakes to Avoid
While learning how to harvest okra seeds, avoid these common errors:
- Harvesting pods too early
- Storing seeds without proper drying
- Using seeds from unhealthy plants
- Exposing seeds to moisture
Avoiding these mistakes will significantly improve your success rate in the next planting cycle.
Grow better with Asia Flock’s premium okra seeds—connect today.
If you are looking for high-quality okra seeds or agricultural products, Asia Flock offers reliable solutions for farmers, gardeners, and global buyers. Explore premium products and take your farming to the next level with trusted expertise.
Frequently Asked Questions
Q1. How do I know when okra seeds are ready to harvest?
Okra seeds are ready when the pods turn brown, dry, and hard. They may also start to crack open naturally.
Q2. Can I use fresh okra seeds for planting?
Fresh seeds should be properly dried before storage and planting to ensure good germination.
Q3. How long can okra seeds be stored?
Okra seeds can be stored for 1–2 years if kept in a cool and dry environment.
Q4. Do hybrid okra seeds grow the same when replanted?
No, hybrid seeds may not produce the same quality or yield when replanted.
Q5. Should I soak okra seeds before planting?
Yes, soaking seeds for 12–24 hours helps improve germination and speeds up sprouting.