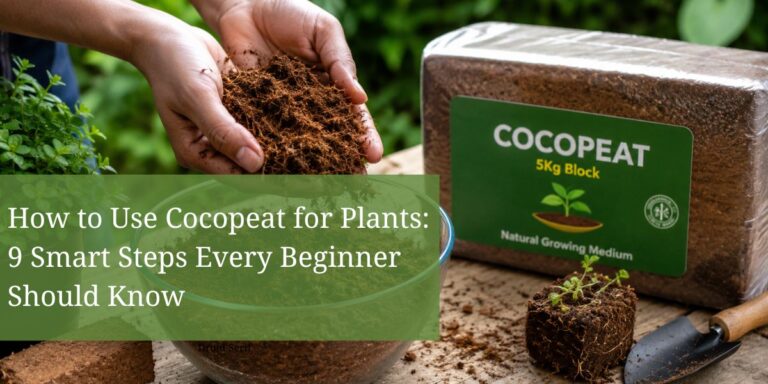
Introduction
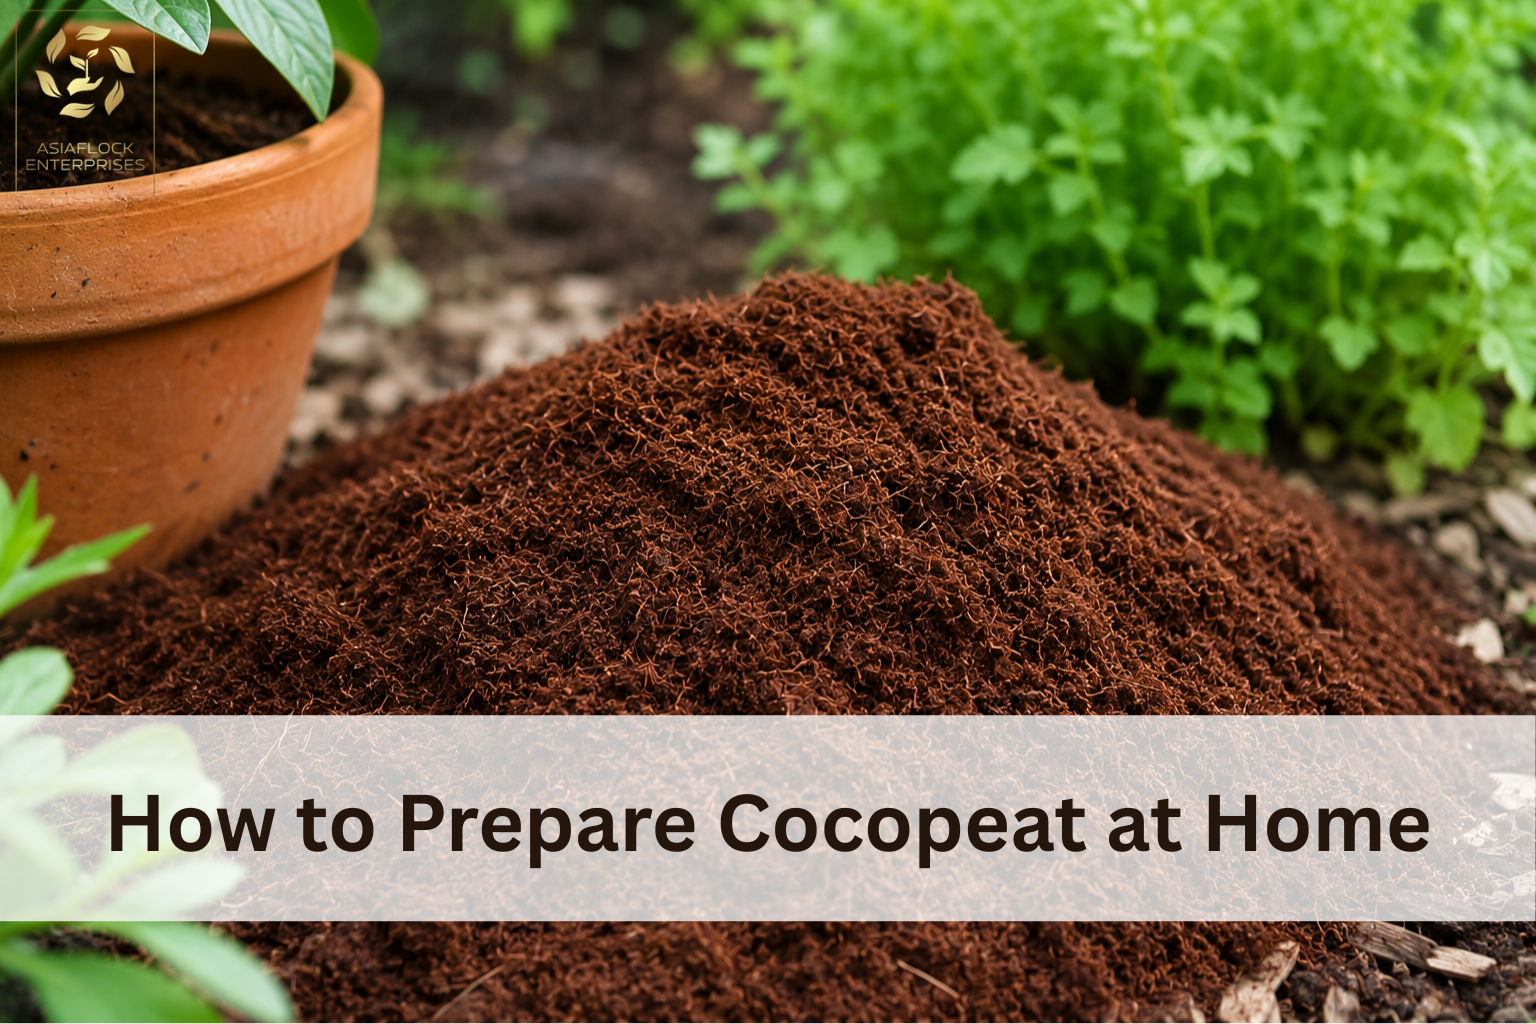
If you’ve ever wondered how to prepare cocopeat at home, you’re not alone. Gardeners around the world are turning to DIY cocopeat preparation because it is affordable, eco-friendly, and an excellent way to recycle coconut waste. Instead of throwing away old coconut husks, you can transform them into a nutrient-friendly growing medium that improves soil structure and supports healthy plant growth.
Cocopeat, also known as coir pith, is a natural by-product of coconut processing. It is widely used in home gardening, commercial nurseries, hydroponics, and seed germination because of its remarkable ability to retain moisture while allowing roots to breathe.
Making homemade cocopeat is easier than many people think. With a few basic tools, some patience, and readily available coconut husks, you can create a sustainable gardening medium right in your backyard. This guide explains how to make cocopeat from coconut husk step by step, along with its benefits, storage methods, and practical gardening applications.
What Is Cocopeat and Why Is It Important for Plants?
Definition of Cocopeat
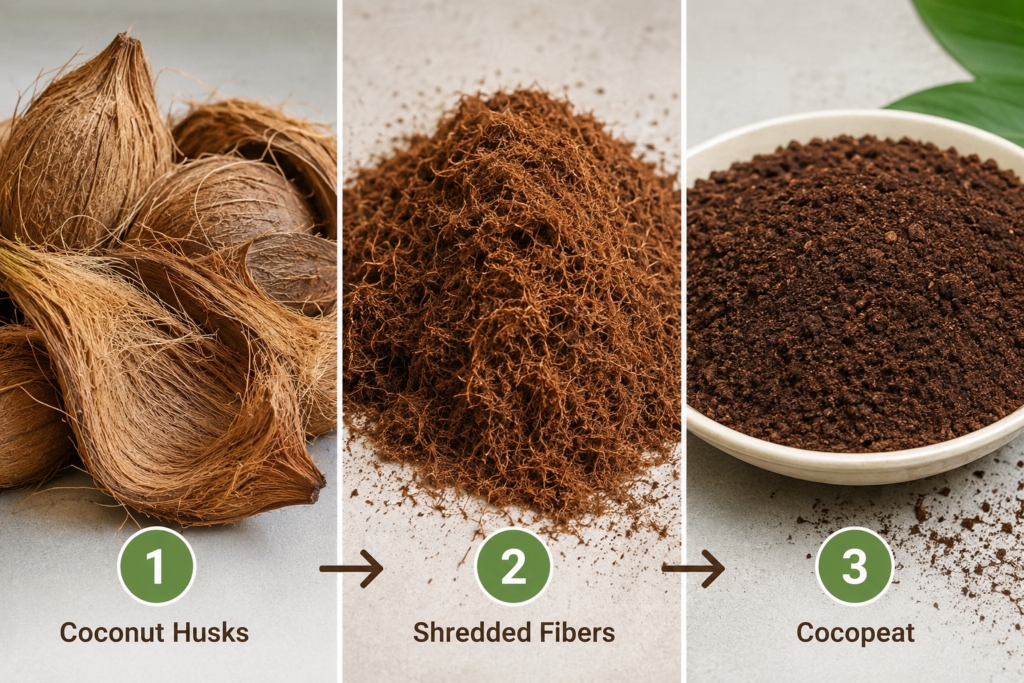
Cocopeat is a soft, spongy material obtained from the fibrous outer shell of coconuts. During coconut processing, the long fibers are separated for ropes, mats, and brushes, while the fine dust-like residue becomes cocopeat.
How Cocopeat Is Made from Coconut Husks
The process involves soaking, shredding, composting, washing, drying, and sieving coconut husks. The final product is lightweight, absorbent, and ideal for growing plants.
Coconut processing industries don’t just create cocopeat. They also manufacture valuable products like dessicated coconut, coconut oil, coconut milk, and other coconut-based ingredients, ensuring that almost every part of the coconut is utilized efficiently.
Water Retention and Aeration Benefits
One of the biggest cocopeat benefits is its exceptional water-holding capacity. Cocopeat can absorb several times its own weight in water while maintaining enough air pockets for root development. This combination reduces water stress and encourages vigorous growth.
Difference Between Cocopeat and Soil
| Feature | Cocopeat | Garden Soil |
| Water Retention | Very High | Moderate |
| Aeration | Excellent | Variable |
| Weight | Lightweight | Heavy |
| Organic Matter | High | Depends on composition |
| Reusability | Yes | Limited |
Unlike ordinary soil, cocopeat for plants remains loose over time, reducing soil compaction and improving root penetration.
Materials Required for DIY Cocopeat Preparation
Essential Materials
To start your DIY cocopeat preparation, gather the following:
- Dry coconut husk
- Clean water
- A large container or drum
- Sharp cutting tool, knife, or shredder
- Gardening gloves
- Bucket or tub for washing
Optional Materials
While not mandatory, these tools can make the process easier:
- Sieve or mesh screen
- Composting bin
- Drying tray or plastic sheet
- Hand shredder or mechanical grinder
Having the right materials ready helps ensure a smoother and more efficient cocopeat-making process.
How to Get Cocopeat at Home?
Many people assume they need coconut trees to produce cocopeat, but that’s not true. There are several easy ways to collect raw materials.
Collecting Coconut Husks from Households
If your family regularly uses coconuts for cooking or religious ceremonies, save the husks instead of throwing them away. Over time, you’ll gather enough material for a small batch of homemade cocopeat.
Sourcing Husks from Coconut Vendors
Local fruit sellers, coconut water stalls, and markets often discard large quantities of coconut husks every day. Many vendors are happy to give them away for free or at a minimal cost.
Using Leftover Husks After Extracting Coconut Products
After enjoying coconut water and removing the coconut meat for cooking, the leftover husk still has plenty of value. Rather than sending it to the landfill, you can recycle it into nutrient-rich cocopeat. This simple form of coconut husk recycling supports sustainable gardening while reducing organic waste.
How to Make Cocopeat from Coconut Husk: Step-by-Step Process
Step 1 – Collect and Clean Coconut Husks
Choose mature, dry coconut husks because they contain stronger fibers and yield better-quality cocopeat. Remove visible dirt, stones, or debris before processing.
If the husks have been lying outdoors, rinse them lightly to eliminate contaminants.
Step 2 – Soak the Coconut Husk
Soaking softens the husks and makes the fibers easier to separate. Place the husks in a drum or large container and completely submerge them in water.
Recommended soaking duration: 3 to 7 days.
Longer soaking encourages partial decomposition, which helps create a softer, more uniform texture.
Step 3 – Shred or Break the Husk into Small Fibers
After soaking, cut or shred the husks into smaller pieces. You can do this manually with a knife or use a mechanical shredder if available.
Manual Method:
- Slice the softened husks.
- Pull apart the fibers by hand.
- Crush the coarse material into smaller particles.
Machine Method:
- Feed the soaked husks into a shredder.
- Collect the fine coir dust and fibers separately.
The goal is to produce evenly sized particles suitable for gardening.
Step 4 – Compost and Decompose the Fibers
Spread the shredded fibers in a composting bin or heap. Keep the material slightly moist but not waterlogged.
Natural decomposition may take 2 to 4 weeks depending on temperature and humidity. Turn the pile every few days to improve airflow and encourage even breakdown.
A properly decomposed batch develops a soft, crumbly consistency that plants love.
Step 5 – Wash the Material Thoroughly
Fresh coconut husks may contain salts and tannins that can negatively affect sensitive plants. Wash the decomposed material several times with clean water until the runoff appears clear.
This washing step is essential because excess salts can inhibit root growth and reduce nutrient absorption.
Step 6 – Dry the Cocopeat
Spread the washed material on a clean plastic sheet or drying tray under direct sunlight. Stir occasionally to ensure even drying.
Avoid over-drying, however. A slight amount of residual moisture helps maintain the natural texture of the cocopeat while preventing dust formation.
Step 7 – Sieve and Store Your Homemade Cocopeat
Pass the dried material through a sieve to remove large fibers and obtain a uniform texture. The coarse fibers can be added back to compost piles or used as mulch.
Store the finished cocopeat in airtight bags or sealed containers in a dry place. Proper storage prevents mold growth and preserves quality for future use.
Interestingly, large-scale manufacturers and professional cocopeat exporter companies follow almost the same sequence-soaking, shredding, composting, washing, drying, and sieving-before compressing and exporting cocopeat products to gardeners worldwide.
Benefits of Homemade Cocopeat for Gardening
Better Water Retention
Homemade cocopeat acts like a sponge, absorbing and holding moisture for extended periods. Plants stay hydrated longer, reducing the frequency of watering.
Improved Root Growth
Because cocopeat remains light and airy, roots can spread freely. Better aeration leads to healthier root systems and stronger plant development.
Eco-Friendly Growing Medium
Creating your own cocopeat supports sustainable gardening medium practices by recycling agricultural waste. It minimizes landfill disposal and reduces reliance on peat moss, which is harvested from environmentally sensitive wetlands.
Cost Savings for Home Gardeners
Commercial cocopeat blocks can become expensive if you maintain a large garden. Producing homemade cocopeat from discarded husks significantly lowers gardening costs while providing a renewable resource.
Additional benefits include:
- Improves soil texture.
- Reduces soil compaction.
- Enhances seed germination rates.
- Compatible with organic gardening.
- Can be mixed with compost and vermiculite.
Read this blog to learn more about the use of cocopeat for gardening.
How to Use Cocopeat for Different Plants
Vegetables
Mix cocopeat with compost and garden soil in a ratio of 30:30:40 for tomatoes, peppers, cucumbers, and leafy greens. This blend improves drainage and moisture balance.
Indoor Plants
Houseplants such as pothos, snake plants, and peace lilies thrive when a portion of the potting mix contains cocopeat. It helps prevent waterlogging while maintaining humidity around the roots.
Seed Germination
Many gardeners prefer seed starting with cocopeat because it provides a soft, sterile medium for delicate seedlings. Mix cocopeat with perlite or vermiculite for even better results.
Hydroponic Gardening
Cocopeat is widely used in hydroponic systems due to its excellent water retention and neutral pH. It serves as an ideal alternative to rock wool and other synthetic growing media.
Can Cocopeat Be Used as Mulch?
Yes, cocopeat mulch is an effective and environmentally friendly way to protect garden beds.
How Cocopeat Works as Mulch
When spread around plants, cocopeat forms a protective layer that slows water evaporation and suppresses weed growth.
Benefits for Moisture Conservation
- Reduces watering frequency.
- Maintains stable soil temperature.
- Prevents surface crusting.
- Minimizes erosion during heavy rain.
Best Practices for Applying Cocopeat Mulch
Apply a 2-3 cm thick layer around plants, leaving a small gap around the stem to avoid excessive moisture buildup. Refresh the mulch periodically as it decomposes naturally.
Can Cocopeat Be Reused?
One of the major advantages of cocopeat is that it can be reused for several planting cycles.
When Cocopeat Can Be Reused
Reusable cocopeat works best if it has not been contaminated by plant diseases or severe pest infestations.
Cleaning and Sterilization Methods
To prepare reusable cocopeat, follow these simple steps:
- Remove old roots and debris.
- Wash thoroughly with clean water.
- Sterilize using boiling water or solar heat treatment.
- Dry before storing or reusing.
Signs That Cocopeat Should Be Replaced
Replace cocopeat if you notice:
- Persistent foul odor.
- Mold growth.
- Heavy compaction.
- Salt accumulation.
- Poor drainage performance.
With proper care, reusable cocopeat may last two to three growing seasons.
Common Mistakes to Avoid During DIY Cocopeat Preparation
Even though DIY cocopeat preparation is straightforward, beginners often make a few avoidable mistakes.
Using Salty Husks Without Washing
Insufficient washing can leave behind salts that damage plant roots.
Over-Drying the Cocopeat
Excessive sun exposure can make cocopeat brittle and dusty, reducing its water retention capacity.
Storing Wet Cocopeat
Always dry cocopeat properly before storage. Wet storage conditions encourage fungal growth and unpleasant odors.
Using Undecomposed Fibers
Fibers that haven’t decomposed adequately can rob the soil of nitrogen during breakdown. Allow enough composting time for the best results.
Homemade Cocopeat vs Commercial Cocopeat
| Feature | Homemade Cocopeat | Commercial Cocopeat |
| Cost | Lower | Higher |
| Preparation Time | More | Ready to use |
| Quality Consistency | Variable | Consistent |
| Availability | Depends on husks | Easily available |
| Sustainability | Excellent | Good |
| Customization | High | Limited |
Homemade cocopeat is an excellent option for hobby gardeners who enjoy recycling materials, while commercial cocopeat offers convenience and uniform quality.
Frequently Asked Questions
1. How to prepare cocopeat at home naturally?
Collect mature coconut husks, soak them in water, shred the fibers, allow partial decomposition, wash thoroughly, sun-dry, sieve, and store the finished material in a dry container.
2. How to make cocopeat from coconut husk without machinery?
You can prepare cocopeat manually by soaking the husks for several days and then cutting and crushing them into small fibers using a knife or hand tools.
3. How to get cocopeat if I don’t have coconut trees?
You can collect discarded husks from local coconut vendors, markets, fruit shops, or households that regularly use fresh coconuts.
4. Can cocopeat be used as mulch for garden plants?
Yes. Cocopeat works well as mulch because it retains moisture, reduces weed growth, and helps regulate soil temperature.
5. Can cocopeat be reused for multiple growing seasons?
Absolutely. After washing, sterilizing, and drying, cocopeat can often be reused for two or three planting cycles.
6. How long does homemade cocopeat last?
When stored properly in a dry, sealed container, homemade cocopeat can remain usable for several years without losing its beneficial properties.
7. Is homemade cocopeat good for seed germination?
Yes. Its lightweight texture, moisture retention, and excellent aeration make it one of the best mediums for starting seeds.
8. What is the difference between cocopeat and coconut fiber?
Cocopeat is the fine dust-like material obtained from coconut husks, whereas coconut fiber refers to the longer strands separated during processing. Both are useful in gardening but serve different purposes.
Conclusion
Learning how to prepare cocopeat at home is a rewarding project for anyone interested in sustainable gardening. By transforming discarded coconut husks into a valuable growing medium, you reduce waste, save money, and create a healthier environment for your plants.
The process is simple: collect mature husks, soak them, shred the fibers, allow natural decomposition, wash away salts, dry the material, and sieve it for a fine texture. The result is high-quality homemade cocopeat that supports seed germination, improves root growth, conserves water, and enhances overall plant health.
Whether you use it for vegetables, indoor plants, hydroponics, or as cocopeat mulch, this eco-friendly material is a smart addition to any garden. By embracing coconut husk recycling, home gardeners contribute to a greener and more sustainable future while making the most of a natural resource that might otherwise go to waste.
For additional information on sustainable gardening and growing media, visit the Royal Horticultural Society (RHS)